Sounds silly right? But without certain knowledge you might never have bread again. Bread is chock full of nutrients, and it's very filling. Flour might be a problem after the world ends, but you're gonna have to figure that part out on your own. I may look into making acorn flour next.
The most important ingredient in bread is yeast. Without it you have unleavened bread, still tasty, but just not the same. Yeast can be procured everywhere in the world, and after a couple years anything in a supermarket will be no good. Start with a bowl of flour, add warm water until its slightly thinner than pancake batter. Mix thoroughly with a fork or whisk, aerating as much as possible. Cover with a paper towel or cheese cloth to keep bugs out but allow air to circulate. Place on a windowsill. (It is much easier to culture in spring or summer) As often as possible mix your starter, at least once a day. After a few days you will see bubbles forming on the surface, this is C02 generated by the yeast cells eating the sugar in the flour. When you begin to see this you need to feed your yeast. As long as it has sugar of any kind to eat the yeast will procreate, so add flour every once in awhile to keep them fed. Adding some sugar to the mix will speed the process along.
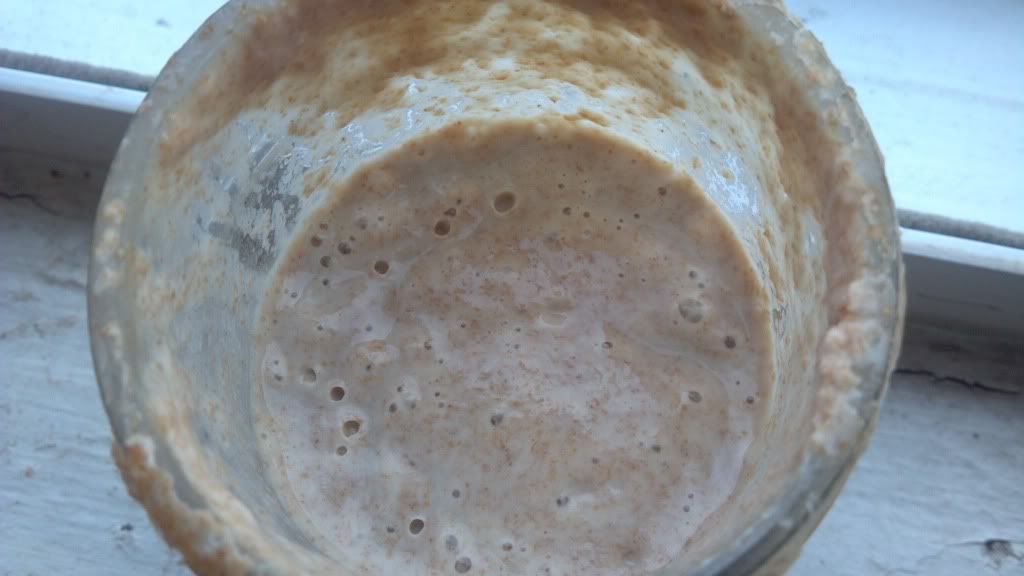
Once you have a very bubbly mixture, take half of it and put it into a mason jar. Add flour and water back into your bowl and mix it until its a little thicker than pancake batter this time. This will be your sponge in the next step. In the mason jar, add some more flour until its a thick liquid, planning for the fact that it can expand and overflow, as my dog can attest. This jar will be your new pet yeasts home. Feed it with a pinch or two of flour every week or so and you can use this starter forever. Also make sure to add enough water when needed to keep it in a liquid form. If you're not gonna be making bread any time soon you can store the jar in the fridge for a few weeks at a time. Taking it out for a day or two and feeding it once a month has been working pretty well for me. Also, once you have it cultured it can be split and grown as much as you want. The starter I've been using is cultured from a friends starter.
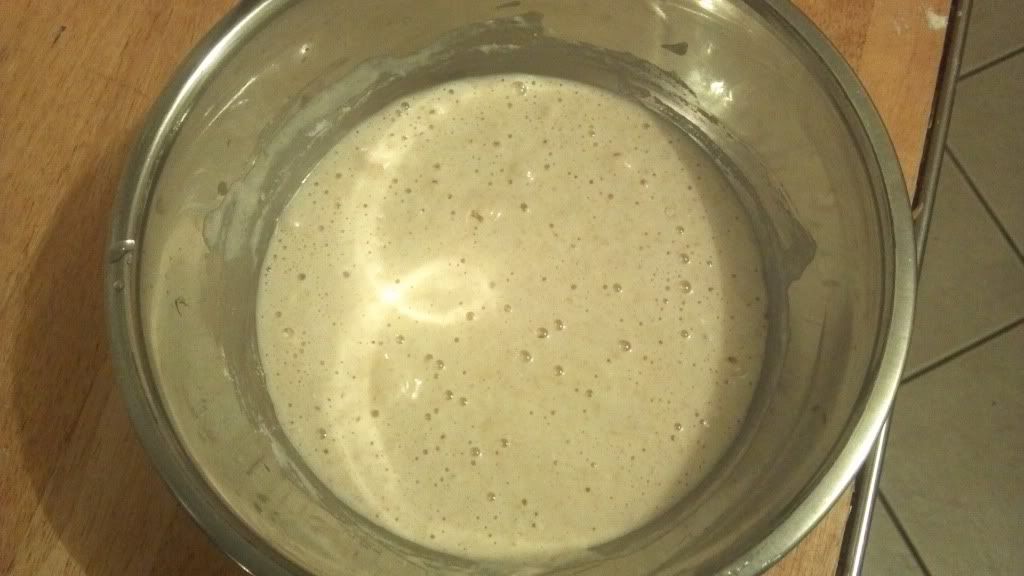
Now on the the sponge. The sponge is basically just to culture as much yeast as possible so that the bread can rise. Its is a lot more difficult to get wild cultured sourdough to rise, so having as many yeast cells as possible helps the process. The idea is to give them as much food as possible in a warm wet environment. Cover the bowl with a paper towel or cheese cloth like before and let it sit at least 4 hours. Every yeast is different and it may take longer for some strains. I like to let mine sit overnight, feeding as often as possible.
Now I don't really measure anything so this is going to be a very general recipe for a simple sandwich loaf. Take about 3 cups of flour, I prefer half whole wheat and half white, and sift into a bowl. Hollow out a cavity in the center and pour in the sponge. Add about a tbsp of salt to taste, 3 tbsp of olive oil, and 5 tbsp of maple syrup, honey or any kind of sugar you like. The syrup and oil are optional and can be left out if necessary. They just add flavor and consistency, and I do like mine a bit sweeter so many would like to dial back the syrup.
Add warm water slowly to the mix, kneading the whole time. The idea is to add enough water so that the dough ball is just slightly sticky. Remember you can always add more water but you can't take it back out. Knead your dough ball for five full minutes, folding over and over as you go. When you're done kneading slap the ball heavily on all sides, this ensures it won't have a spot in the middle that didn't stick together well.
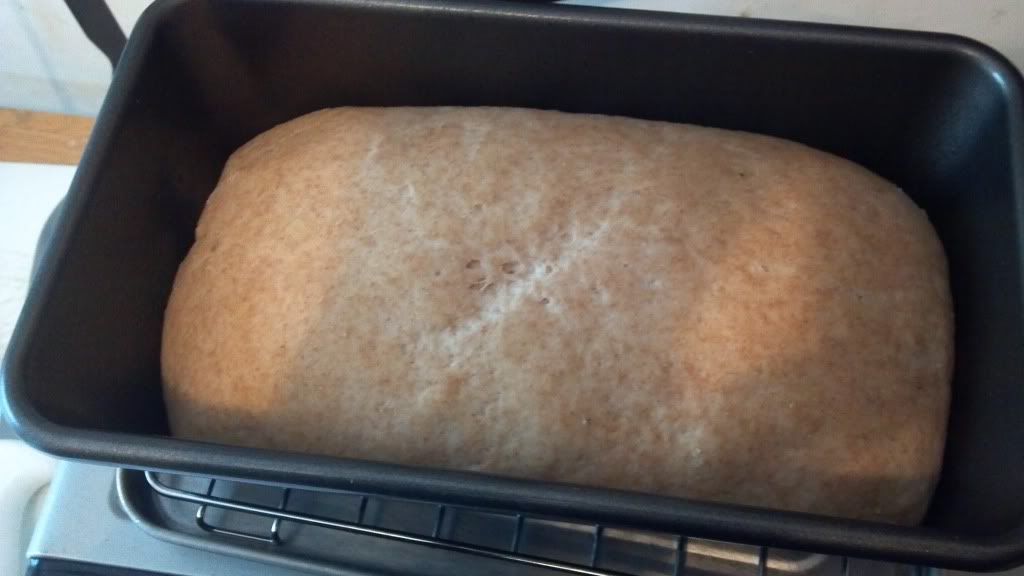
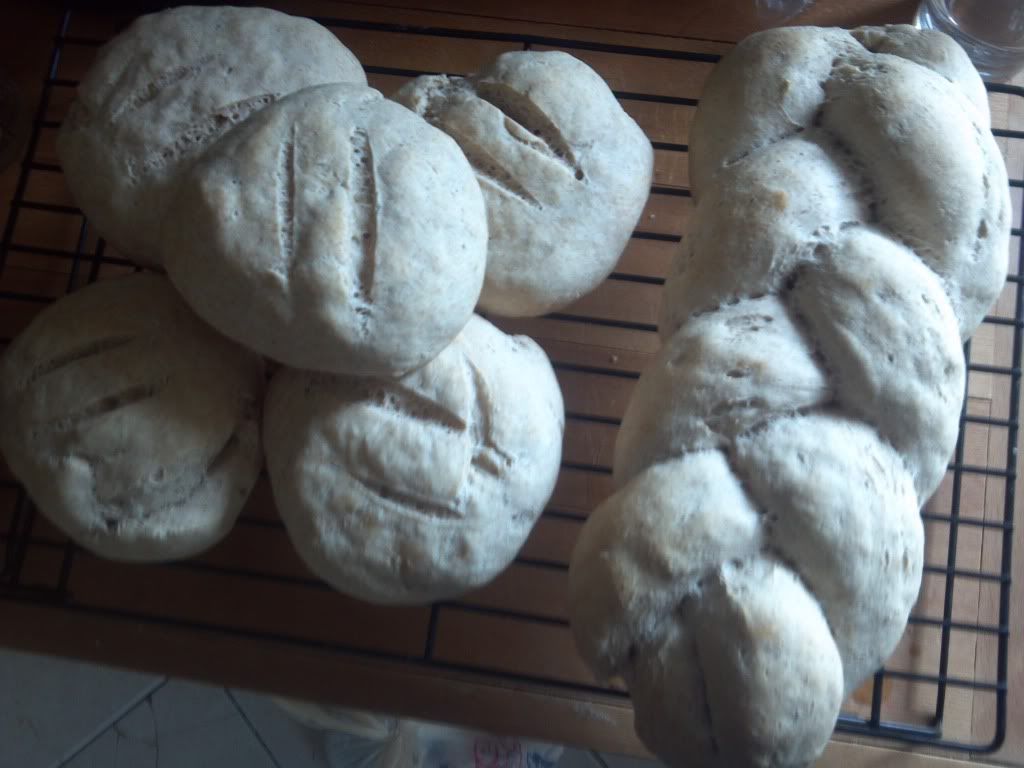
Grease a bread pan or cookie sheet and cover with a damp towel. Allow to rise for at least a few hours, like I said before all yeasts differ. When the dough ball has roughly doubled in size, cook at 375 for about a half hour. When your bread is done it will sound hollow when you tap on the bottom. It's kind of a feel thing so you might not get it on the first try. If it doesn't sound hollow, return it to the oven quickly. After it's done, remove from pan and cool on a rack.
Check out Wild Fermentation, by Sandor Ellix Katz.It has a ton of great recipes for breads beers, yogurts and cheese, all using wild yeast. Hopefully thanks to that book I will be enjoying a grilled cheese sandwich and a beer well after the apocalypse.