My recipe for hopped, carbonated Mead. Not a very common concoction as far as I can tell. (For those who don't know, Mead is a honey wine) Now I'm not a wine guy by any means, just beer and bourbon for me. As you can tell, I want to be self sustaining after I can't run to the store and grab a sixer of Long Trail IPA. So I thought to myself, all alcohol is made of sugar, what are my natural options in the state of New York? Apples, grapes, maple syrup, and honey.
My first foray with homemade alcohol was with apple cider. This went pretty well, but unfortunately New York has passed laws that force orchards to add potassium sorbate to their cider. So it takes forever to ferment, and gets a very acidic flavor. So until I get a good cider with no preservatives, I wont be posting a recipe. The second was with grapes growing in my backyard. I would say good, not great. Still working on it. As far as maple syrup, I'll follow up on that one in the spring.
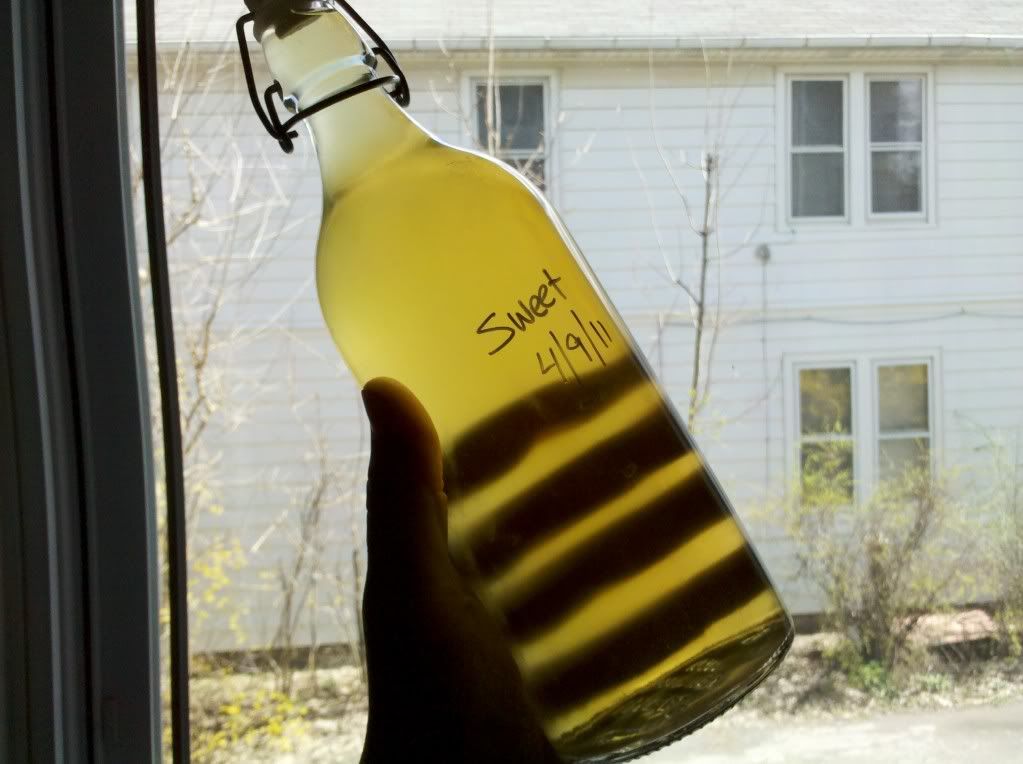
So, on to honey. My first mead was awesome. The trouble is, being a proof of concept, I didn't write anything down. I mentioned before that I'm not a wine guy, so I decided to go with an ale yeast the first time. Because it was an ale yeast and not a vinter's yeast, it had more of a flat, sweet, beer flavor (compared to a wine taste). By the way, yeast is an ingredient people really don't give enough credit. It can completely change the flavor of what you're making, so keep this in mind when you get your yeast for whatever you brew. For this brew I used Nottingham ale yeast, but any ale yeast will go pretty well.
After my first batch, I started to wonder: what about a hopped, carbonated version? With my particular palate, I'm an American IPA fan. Low malt, heavy hops. The honey in mead is perfect for this, since you don't have to rely on malted barley for sugar content in your wort. (Wort is unfermented beer.) So I did a 2 gallon batch of hopped mead as an experiment, which was awesome. And because it was so awesome, I'm going to share my recipe with you.
This recipe is fairly approachable for any beer drinker. With a hop character close to a pilsner, (about 20 IBU) and some flavors akin to a mulled wine. It should be noted that you will get a bit of a musky after taste that many may not be used to. This is the lack of malt to balance the hops. My next batch will be tripling the bittering hops, and using amarillo hops instead. These have a higher acid content and bitter the Mead further. This should put it at about 70 IBU (International Bittering Unit)
Ingredients
-12-16 lbs of honey (more honey = sweeter/higher alcohol mead, depending on yeast used. Use a hygrometer* to measure sugar content and compare to what your yeast is capable of)
-4 gallons water
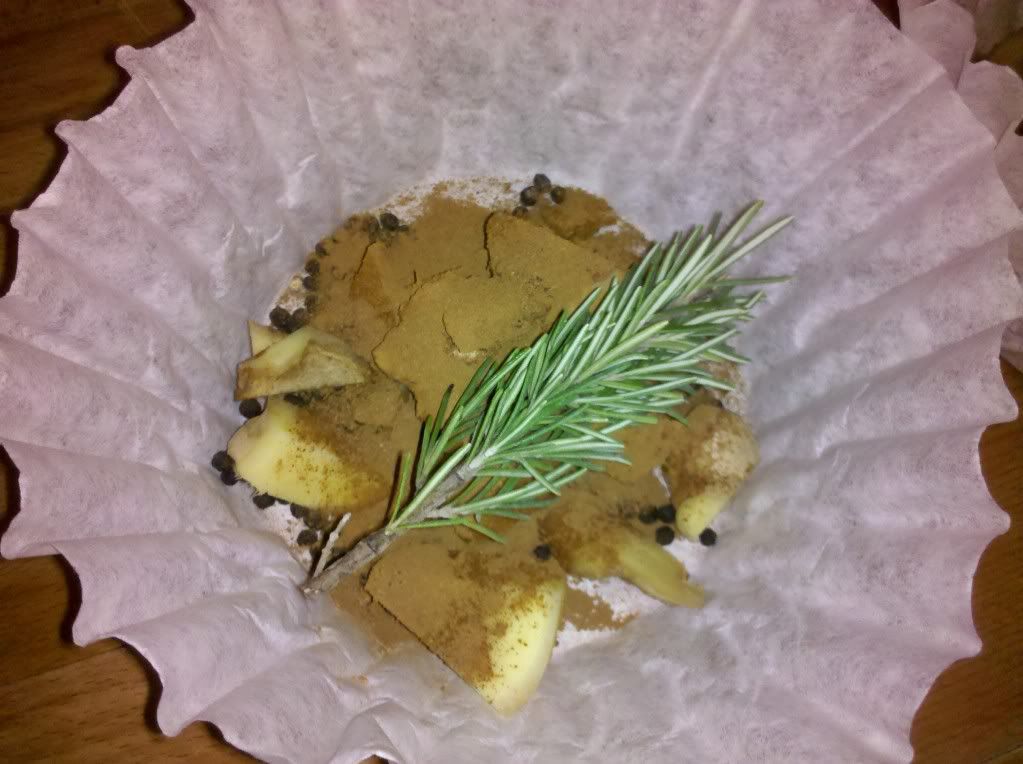
-5-7 0zs fresh ginger (peeled and roughly chopped)
-2 sprigs rosemary
-5 tbs cinnamon, or 6 whole sticks
-1 lemon
-8 oz raisins
-1 oz perle hops (pellet)**
-1 oz cascade hops (pellet)**
-1 packet Nottingham yeast
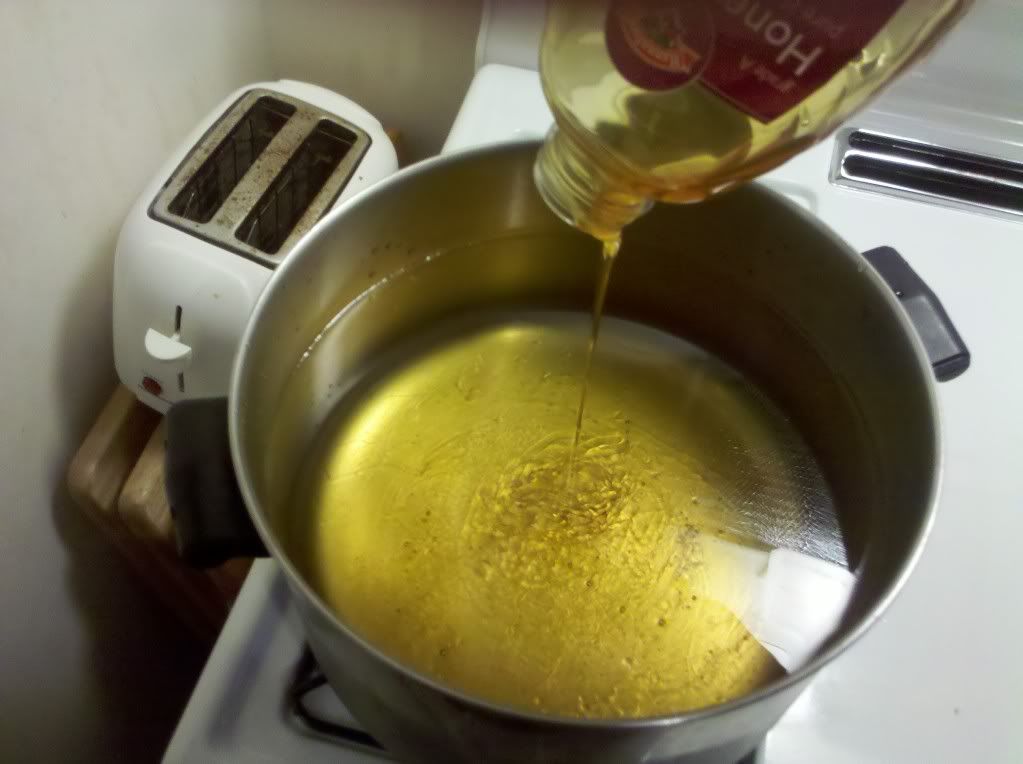
Bring water to a rolling boil and add honey, bring back up to boil. Add ginger, cinnamon, rosemary and perle hops. Boil for 60 minutes to obtain highest bittering from hops. In the last few minutes of boil, zest lemon and throw in the rest of it. Add raisins as well, this is mostly to sterilize. Allow to cool and pour into fermenter, lemon, cinnamon, raisins and all. (glass fermenters are always best) While your brew is cooling, make a yeast starter.
Microwave some water to sterilize, just bring it up till it barely boils, and add a little corn sugar if you have it or some honey will work. Pour your packet of yeast into it after it cools to about 75-80 degrees. This helps the yeast to procreate quickly before adding it to the wort. When the wort has cooled to below 90 degrees, add your starter, along with the cascade hops. Let it sit for a few weeks until you stop seeing bubbles for your airlock.***
When your mead is done fermenting, it's ready to drink, but if you really want Viking Champagne, you need to carbonate. Bottle conditioning is the most low tech way to do it, but if you have a keg and CO2 tank, that the easiest.
For bottle conditioning in a 5 gallon batch, mix in 8.5 oz corn sugar, and bottle. Grolsh beer bottles with silicone seals work really well. I also got some really good pop-top bottles at Ikea. Store at 70 degrees for about a week and they should be done. For carbonation in kegs, add about 30 psi and refrigerate.
*Hygrometer measures sugar content of wort, can be purchased on Amazon for like 5 bucks.
**Will be swapping out for 3 oz Amarillo bittering and 1 oz Fuggle in the next batch for a 60-90 IBU brew.
***Airlocks allow C02 to escape without allowing oxygen in, can also be purchased on Amazon very cheaply.
 Surviving a disaster is all about being smarter than the next guy. This means exploiting resources that others will overlook.