Wednesday, November 2, 2011

Simple Navigation


In a world with GPS and smart phones, nobody even uses maps anymore. What will you do if you can't rely on these things anymore? For example, In the Northeast this past weekend we had a pretty severe storm for the month of October. It caused widespread power outages, and one thing in particular, a loss of cell service in many areas. I must admit it was unnerving. Especially since I, like many of my generation, don't have a home phone. So I pose the question. If you were in a situation where you were in an unfamiliar area, with no cell service, how would you get to safety?

There are hundreds of techniques for finding your direction of travel, some simple, some more complex. The simplest of all is using the sun. Everybody knows the sun rises in the east and sets in the west. Using this combined with landmarks can be all you need if you're careful enough. But there are much more effective ways of using it with a little common sense.


Sometime in the morning or afternoon is best for this technique, at noon the sun may be too high in the sky, but anytime of day can be effective as long as you can get a good shadow. Take as straight a stick as you can find, maybe a few feet long. the longer it is the faster the reading. Drive it into the ground and mark the tip of the shadow with a rock. Sit back and wait awhile, as the sun moves across the southern sky, the shadow will move. Once the tip of the shadow has moved a couple feet, mark it with another rock. The line between the two rocks is an East West line. The first reading is always West. Now make an X across it starting with the pole. the pole is South, The first rock is West, the second rock is East and the line points North. It should be noted that North and South points are reversed in the Southern hemisphere as the sun travels in the Northern sky.


Probably the easiest way to use the sun is via wristwatch. I'm sure you've all seen Bear Grylles do it. Point the hour hand at the sun, and halfway between 12 and the hour hand is South. Make sure to compensate if its daylight savings, just use the 1 o'clock position. If you have a digital watch, you can employ this technique by drawing the face of a clock reflecting the current time on a piece of paper.


Now what to do if traveling at night? The North star of course makes things much easier for those of us in the Northern hemisphere. Its quite easy to spot even though isn't quite the brightest star in the sky. All you need to find is The big dipper, Little Dipper and Cassiopeia. Everybody knows the Little and Big Dipper, but Cassiopeia is a W shaped constellation not far from them. Between the Cassiopeia and The Big Dipper, is the Little Dipper and the North star. It's almost directly in the center and is the tail end of the Little Dipper. If you can Find just one of these three you can have a general Idea which way is North.


Now obviously a compass would be the best way to determine direction. So here's how to build one if you didn't happen to have one with you. All you need is a small pool of water, a leaf and pin or small piece of wire. Any metal that is ferrous (a magnet can stick to it) can be magnetized, either by electricity or contact with a permanent magnet. So when you magnetize the pin and place it on the leaf, floating in the water, it will spin like a compass giving a fairly reliable North/South line. You can figure out which way is South using the sun. If that is not possible, look at vegetation. It grows thicker on the Southern side. To magnetize the pin, rub on wool or silk to create a magnetic field using static electricity. A much easier way would be to touch the pin to a permanent magnet. Magnets can be found everywhere, not just on the fridge. Any speaker has a magnet in it. So my favorite example is your cell phone. Especially the newer media oriented phones, the have great speakers as well as the earpiece.

If you're dealing with a small pin you may not even have to destroy the phone, just hold it to the speaker. If it sticks, it's magnetized.


Saturday, October 22, 2011

A Bakers Guide to the Apocalypse

Sounds silly right? But without certain knowledge you might never have bread again. Bread is chock full of nutrients, and it's very filling. Flour might be a problem after the world ends, but you're gonna have to figure that part out on your own. I may look into making acorn flour next.

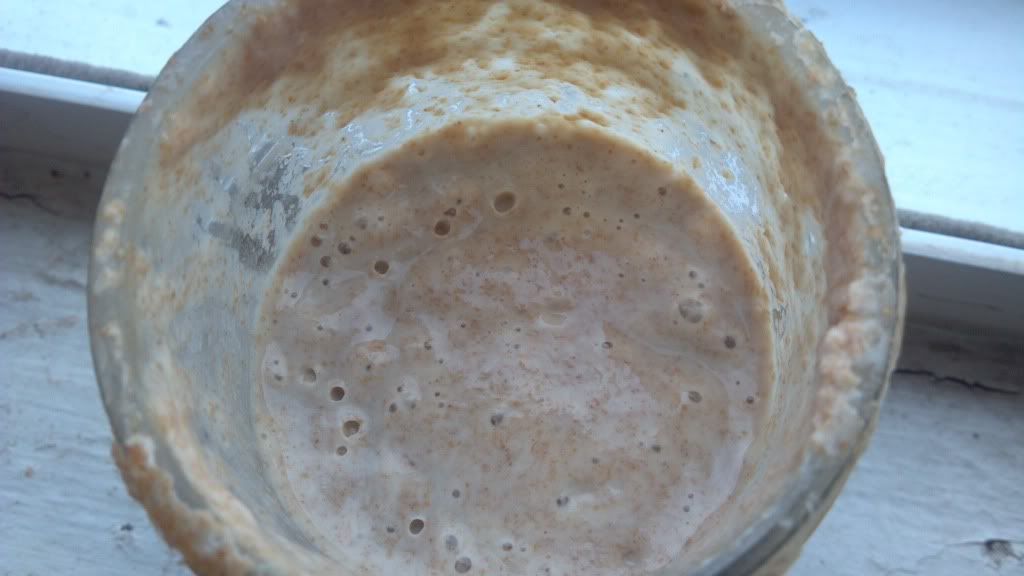
The most important ingredient in bread is yeast. Without it you have unleavened bread, still tasty, but just not the same. Yeast can be procured everywhere in the world, and after a couple years anything in a supermarket will be no good. Start with a bowl of flour, add warm water until its slightly thinner than pancake batter. Mix thoroughly with a fork or whisk, aerating as much as possible. Cover with a paper towel or cheese cloth to keep bugs out but allow air to circulate. Place on a windowsill. (It is much easier to culture in spring or summer) As often as possible mix your starter, at least once a day. After a few days you will see bubbles forming on the surface, this is C02 generated by the yeast cells eating the sugar in the flour. When you begin to see this you need to feed your yeast. As long as it has sugar of any kind to eat the yeast will procreate, so add flour every once in awhile to keep them fed. Adding some sugar to the mix will speed the process along.

Once you have a very bubbly mixture, take half of it and put it into a mason jar. Add flour and water back into your bowl and mix it until its a little thicker than pancake batter this time. This will be your sponge in the next step. In the mason jar, add some more flour until its a thick liquid, planning for the fact that it can expand and overflow, as my dog can attest. This jar will be your new pet yeasts home. Feed it with a pinch or two of flour every week or so and you can use this starter forever. Also make sure to add enough water when needed to keep it in a liquid form. If you're not gonna be making bread any time soon you can store the jar in the fridge for a few weeks at a time. Taking it out for a day or two and feeding it once a month has been working pretty well for me. Also, once you have it cultured it can be split and grown as much as you want. The starter I've been using is cultured from a friends starter.

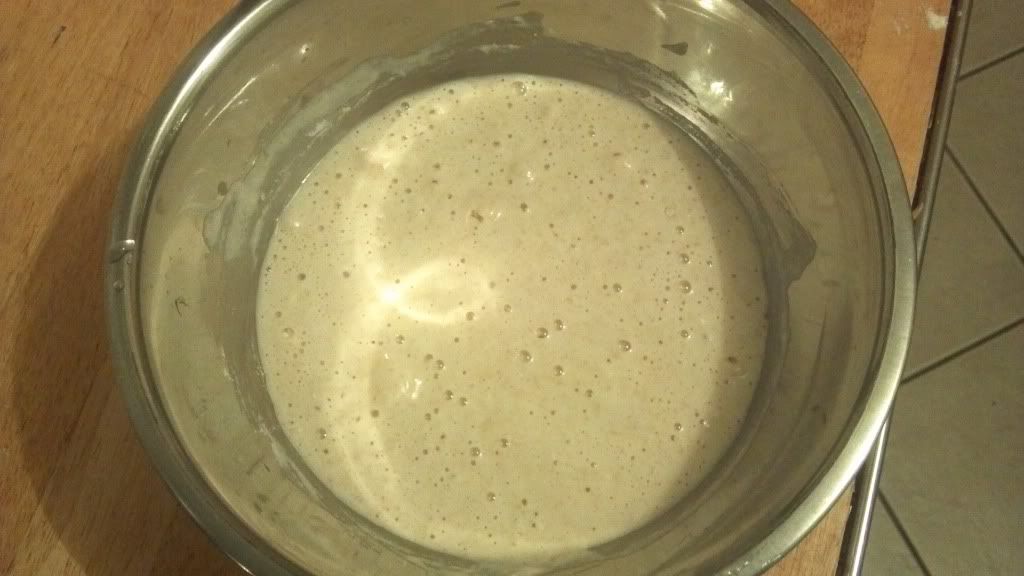
Now on the the sponge. The sponge is basically just to culture as much yeast as possible so that the bread can rise. Its is a lot more difficult to get wild cultured sourdough to rise, so having as many yeast cells as possible helps the process. The idea is to give them as much food as possible in a warm wet environment. Cover the bowl with a paper towel or cheese cloth like before and let it sit at least 4 hours. Every yeast is different and it may take longer for some strains. I like to let mine sit overnight, feeding as often as possible.

Now I don't really measure anything so this is going to be a very general recipe for a simple sandwich loaf. Take about 3 cups of flour, I prefer half whole wheat and half white, and sift into a bowl. Hollow out a cavity in the center and pour in the sponge. Add about a tbsp of salt to taste, 3 tbsp of olive oil, and 5 tbsp of maple syrup, honey or any kind of sugar you like. The syrup and oil are optional and can be left out if necessary. They just add flavor and consistency, and I do like mine a bit sweeter so many would like to dial back the syrup.

Add warm water slowly to the mix, kneading the whole time. The idea is to add enough water so that the dough ball is just slightly sticky. Remember you can always add more water but you can't take it back out. Knead your dough ball for five full minutes, folding over and over as you go. When you're done kneading slap the ball heavily on all sides, this ensures it won't have a spot in the middle that didn't stick together well.

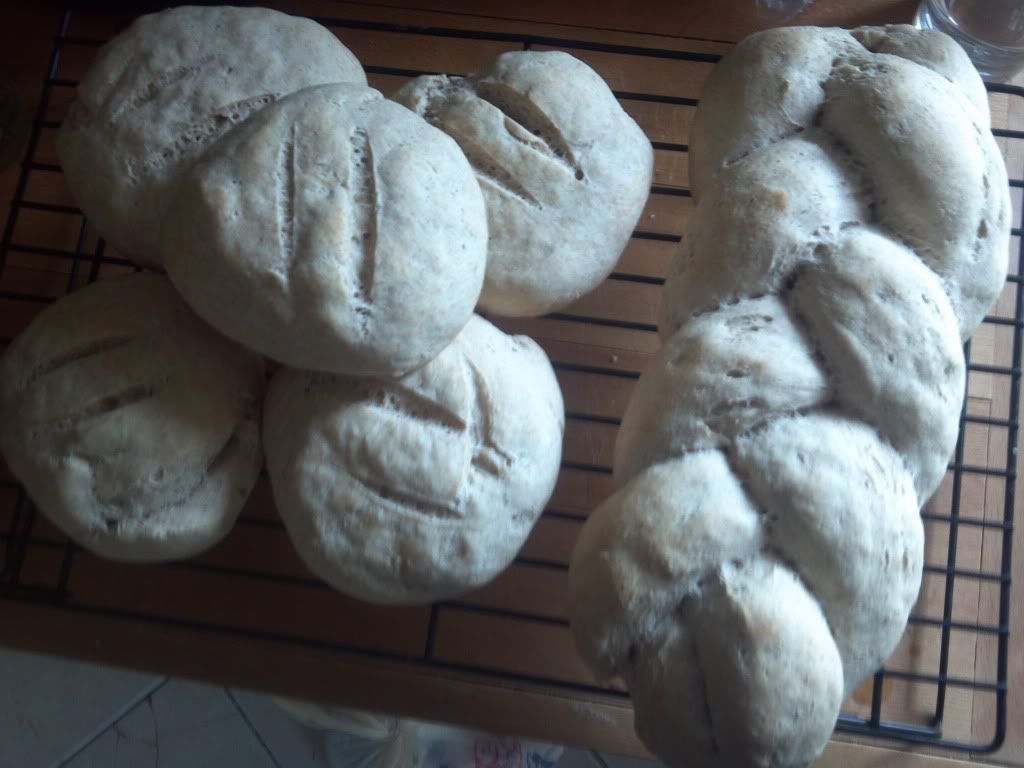
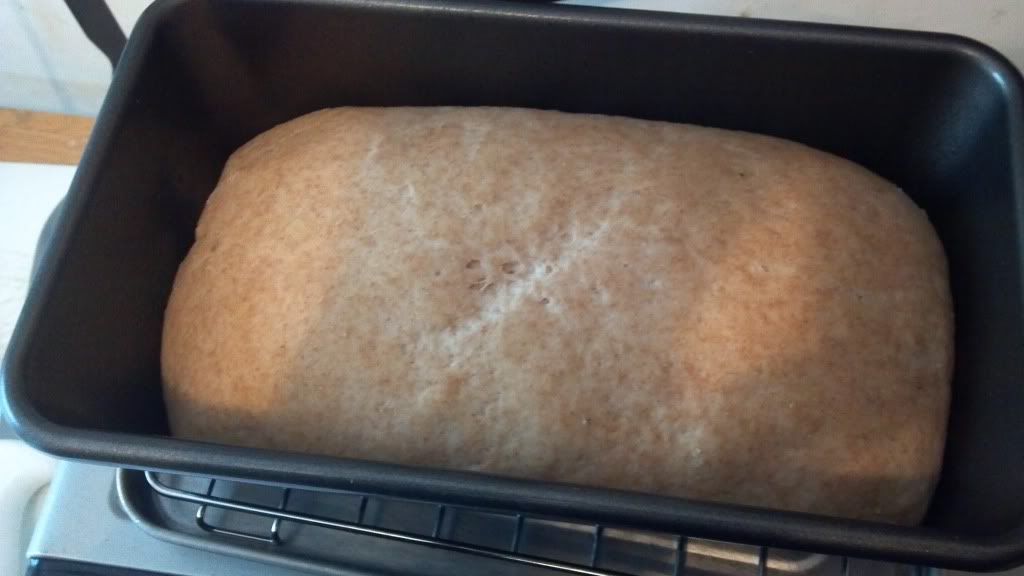
Grease a bread pan or cookie sheet and cover with a damp towel. Allow to rise for at least a few hours, like I said before all yeasts differ. When the dough ball has roughly doubled in size, cook at 375 for about a half hour. When your bread is done it will sound hollow when you tap on the bottom. It's kind of a feel thing so you might not get it on the first try. If it doesn't sound hollow,  return it to the oven quickly. After it's done, remove from pan and cool on a rack.

Check out Wild Fermentation, by Sandor Ellix Katz.It has a ton of great recipes for breads beers, yogurts and cheese, all using wild yeast. Hopefully thanks to that book I will be enjoying a grilled cheese sandwich and a beer well after the apocalypse.

Tuesday, July 5, 2011

Food is everywhere

Have you ever walked out into your backyard and looked for food? Most people haven't, but I do it all the time. I have a garden like many, but what I'm talking about is wild edibles. Food is all around you, even in a fairly urban area, such as where I live in Poughkeepsie New York.

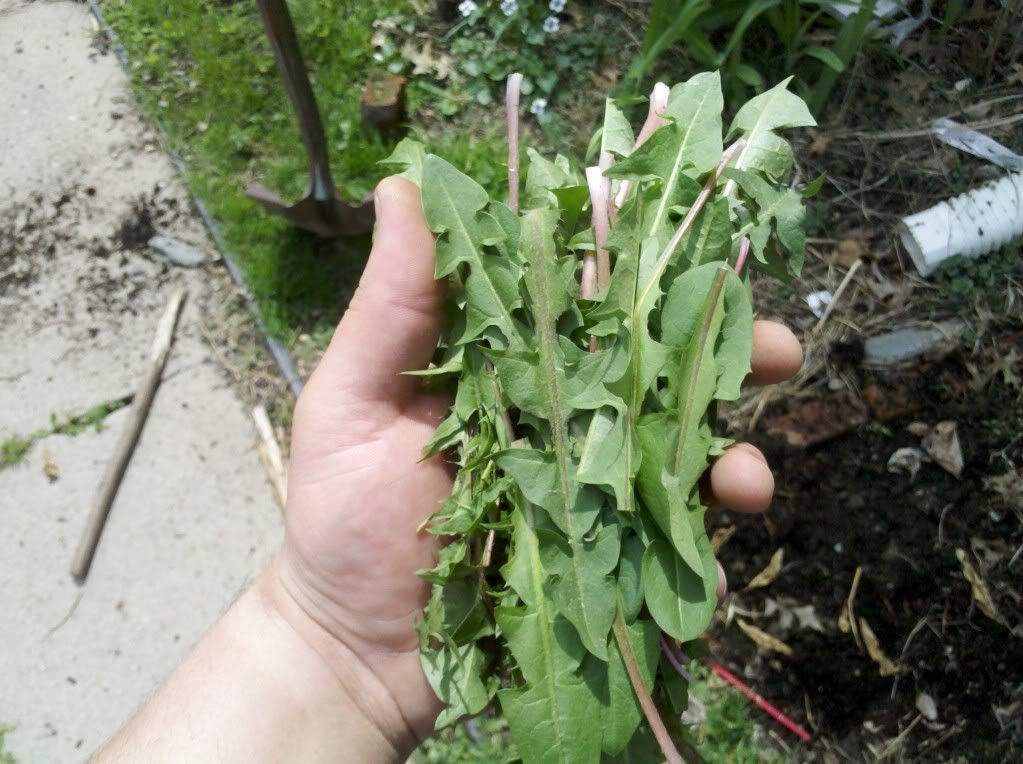
The easiest thing to find is Dandelions, the entire plant is edible. (Although I must admit, they're a little bitter for my taste) Try blanching the leaves in boiling water for a minute or two, helps a lot. Also one thing I've been looking to try is making a tea from the flowers. I've also heard that it's a spectacular addition to Mead, so I'll be trying that next batch. 


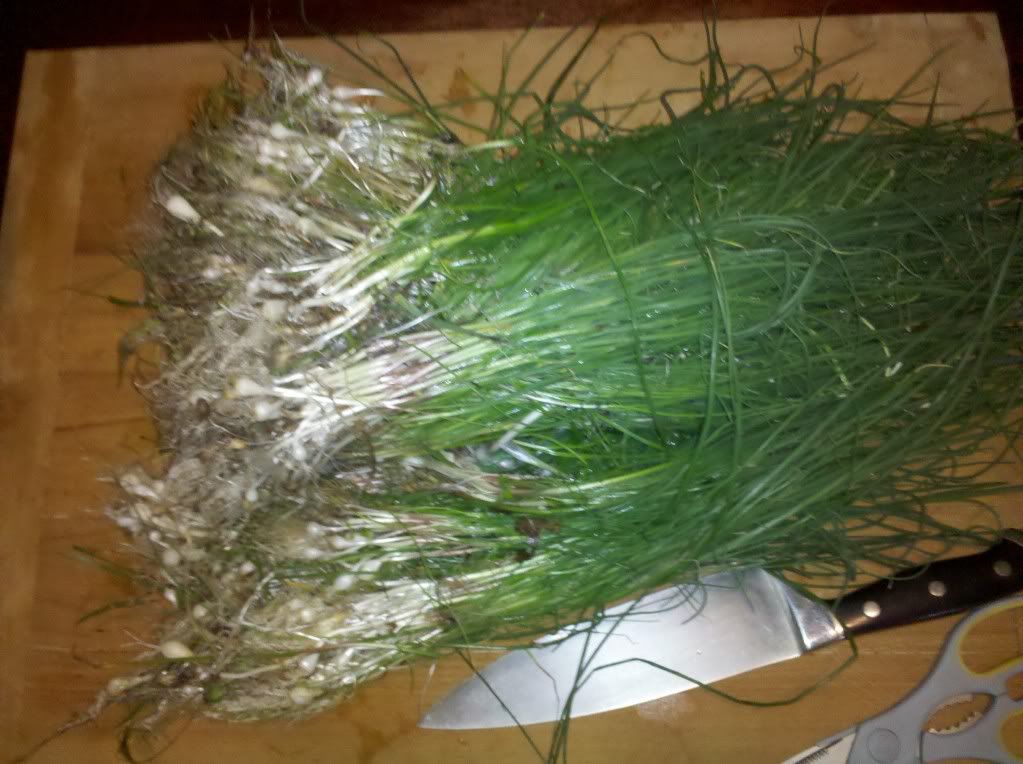
One of my other go to plants is wild onions. I'm sure you've noticed them in early spring, they look like tall grass and sprout up in early may.  Super easy to gather and easy to spot, they are a great wild vegetable and  would provide at least some calories in a survival situation. The ones I gathered this spring made an excellent onion soup. I take all my onions, cleaned thoroughly and chopped off at the point they begin to turn green, give them a rough chop and sauteed them with butter and garlic. Add beef or pork stock, season to taste and simmer for two hours. The onions are a little chewier than the store bought stuff, but the flavor is ten times better. 

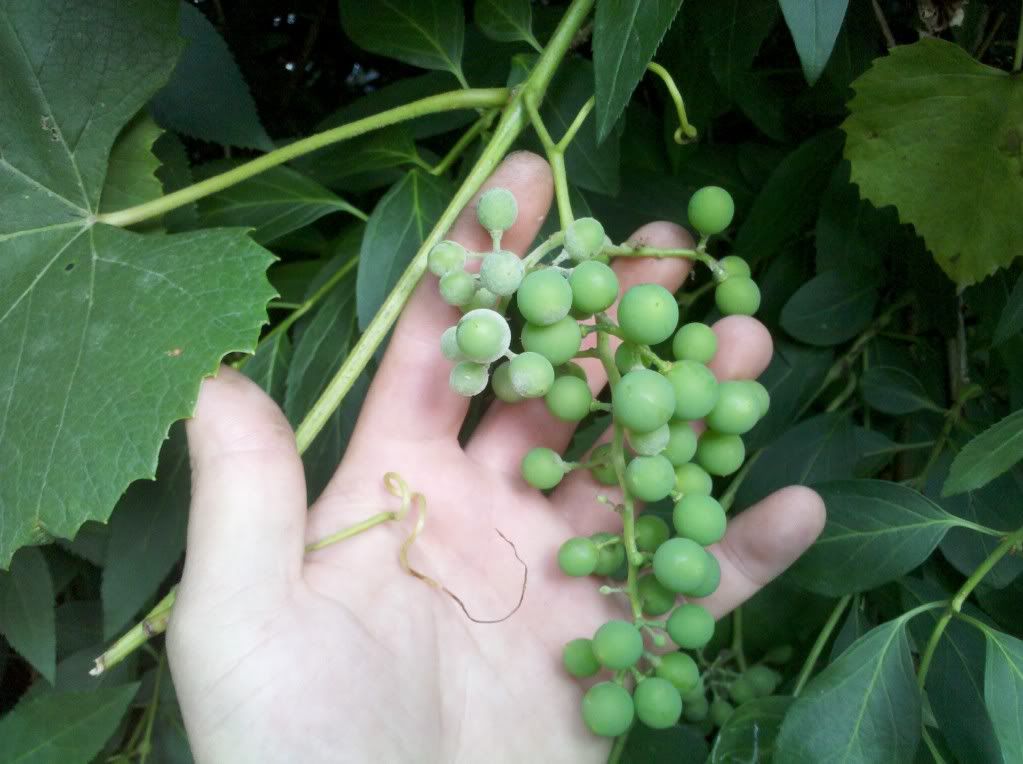
If you can find them, grapes are the best. They grow all over around here, and I'm fortunate enough to have more growing in my backyard than I could ever use. An excellent survival food, all sugar, that's if you can get past all the seeds. They're usually ready early august. Mine will be relegated to making wine mostly, very excited to make something that every ingredient came from 100 meters from my bed. 

Friday, June 24, 2011

Find resources where others don't look.

Surviving a disaster is all about being smarter than the next guy. This means exploiting resources that others will overlook.

Lets say its a disease, a global pandemic.  The first thing that will happen is everyone flees the city looking for somewhere safe. Anyone who's seen a zombie flick can get an idea of what the highways would look like. Thousands of abandoned cars packed together, never to move again without the gas they need to run. Cars can be a huge resource reserve, even a nearly dead battery can be used to get a fire going. But what I'm thinking about is years after. Well past the point that you could use the small amount of fuel in the tank or the electrical system.

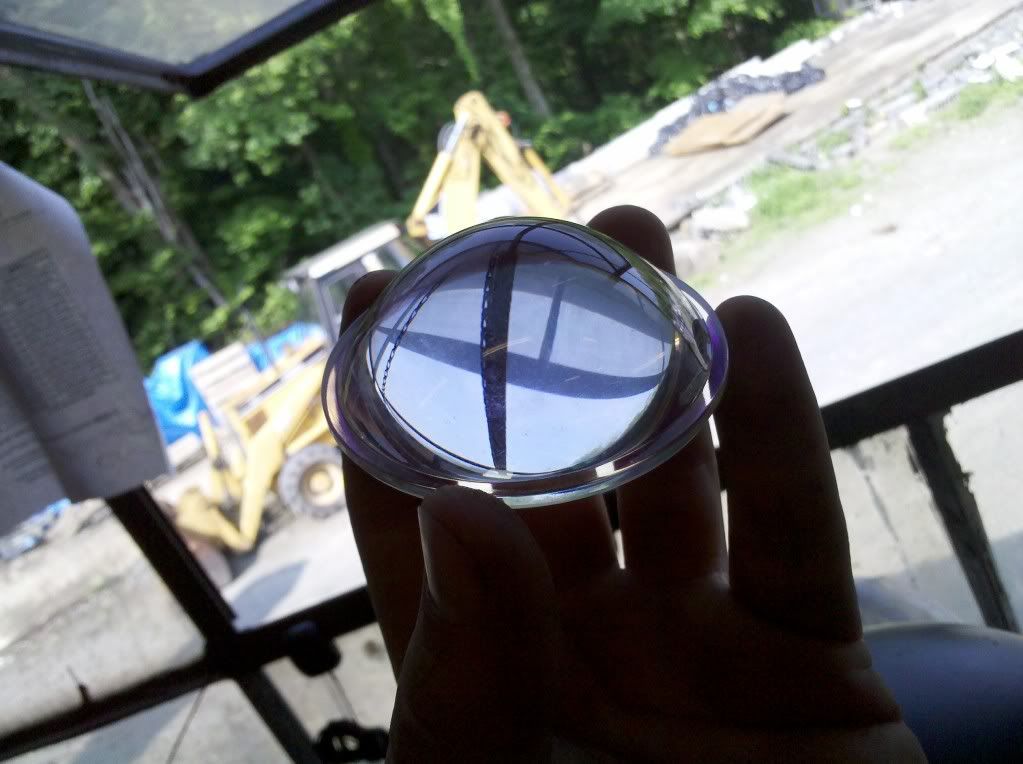
If you look at newer model cars, many are equipped with projector headlights. They use a parabolic lens to focus light instead of a large reflective housing. They're very easy to spot, it looks like a glass orb behind the lens. These make a great magnifying glass, and we all know you can make fire with a magnifying glass.

So find a suitable lens, grab a rock, and at midday you can make fire. I used the lens pictured to light a cigarette in about 20 seconds.

Thursday, June 23, 2011

Less is more

I'm a fairly experienced hiker and outdoorsman. I wouldn't say I'm an expert by any means, but I get in about 3 or 4 primitive camping trips in a year. Normally the basics for this are my Osprey 65 pack, a tent, sleeping bag, food and water. Along with about 15 pounds of stuff I really don't need, including booze, a stove, deodorant, all things that increase comfort and convenience.

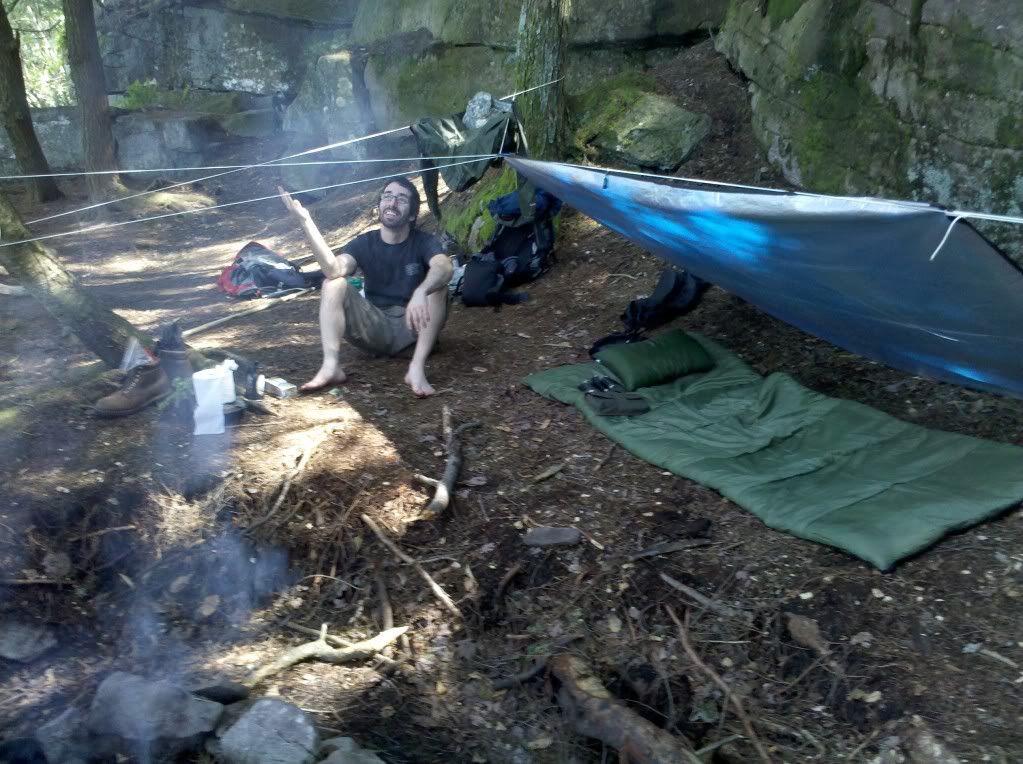
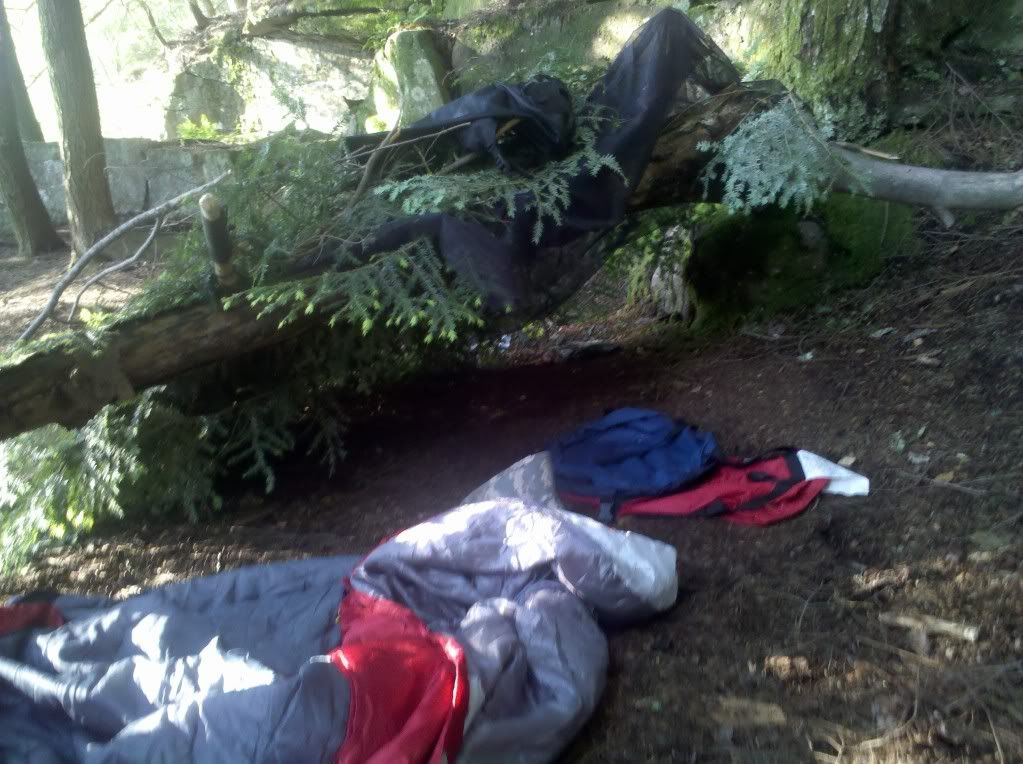
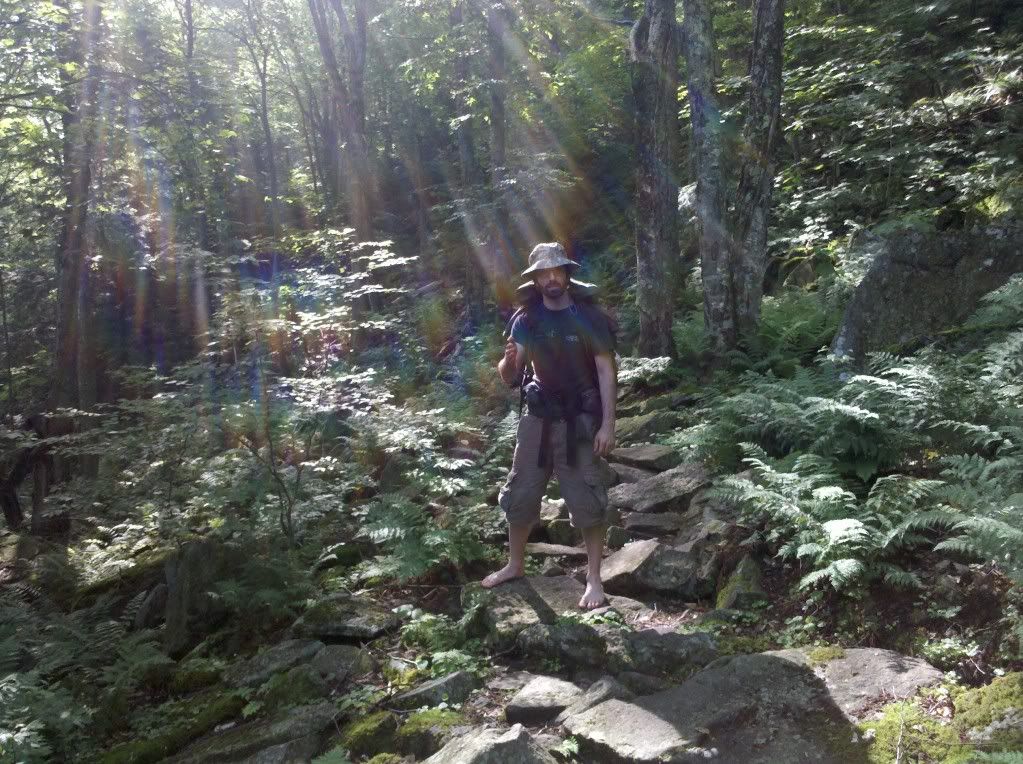
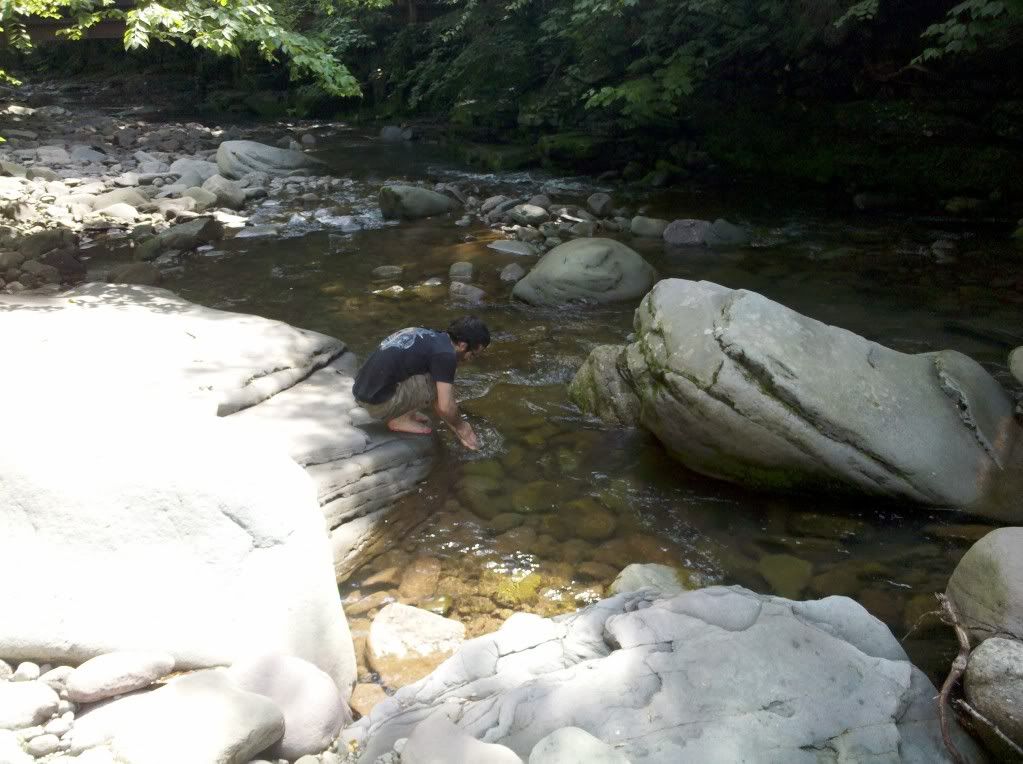
For this trip, I cut most of that in half. Ditching the tent and going with a tarp that doubles as a survival wrap. Cutting fuel for my stove in half and relying on the fire for cooking. (surprisingly it turned out to be way more than I needed) Being that it was warmer out my sleeping bag was much lighter so that helped. I have to admit I still brought a couple of flasks of bourbon. All this and still my pack weighed in at 34 pounds. My friend Anthony (pictured right) decided to go with even less. By decided I mean he forgot the survival wrap he was gonna use for his lean-to. We built his shelter using pine boughs. All that being said, that's not what this post is about. We also decided to go barefoot


This is something I've been thinking about doing for awhile now. I'm a big fan of "Dual Survival", and couldn't wait to try out Cody Lundin's barefoot philosophy. I know for a fact that most of my back problems start squarely with the shoes I wear. So we strapped our boots to our packs and gave it a shot. The first few hundred feet were pretty rough, and my feet were sore almost immediately. After a bit I noticed how slow we were traveling, with every step being deliberate. I started to worry about how long this would take, and how my feet would feel after a four mile hike. After an hour, I was still doing ok, and I noticed a few familiar landmarks on the trail. When we stopped for lunch, I checked the time and realized we were moving at a similar speed to what I normally do in boots.


Funny enough, I never thought to just slow down. We stopped less, drank less water, and ultimately barely even broke a sweat. The slow deliberate steps, picking and choosing where to place my foot every time, had slowed my pace to a point that we never needed a break. We rested our feet on occasion, but normally I would have to stop to catch my breath regularly, the steady pace more than made up for the loss in speed.

When we arrived at the campsite, my feet were feeling great. Along with my back, and my legs. Normally quite sore by the end, this time I felt really good. This will definitely be the way I hike from now on, and I'm sure once my feet toughen up it will be even easier. Maybe next time I won't have to carry the boots along at all.

Saturday, June 4, 2011

Viking Champagne

My recipe for hopped, carbonated Mead. Not a very common concoction as far as I can tell. (For those who don't know, Mead is a honey wine) Now I'm not a wine guy by any means, just beer and bourbon for me. As you can tell, I want to be self sustaining after I can't run to the store and grab a sixer of Long Trail IPA. So I thought to myself, all alcohol is made of sugar, what are my natural options in the state of New York? Apples, grapes, maple syrup, and honey.

My first foray with homemade alcohol was with apple cider. This went pretty well, but unfortunately New York has passed laws that force orchards to add potassium sorbate to their cider. So it takes forever to ferment, and gets a very acidic flavor. So until I get a good cider with no preservatives, I wont be posting a recipe. The second was with grapes growing in my backyard. I would say good, not great. Still working on it. As far as maple syrup, I'll follow up on that one in the spring.

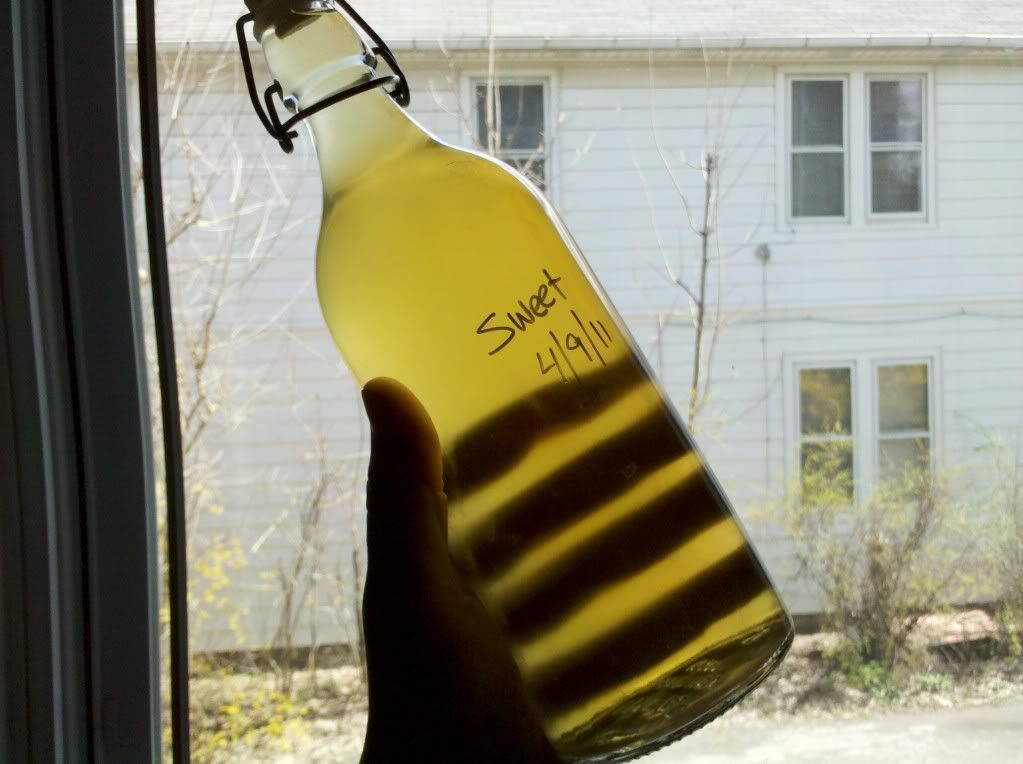
So, on to honey. My first mead was awesome. The trouble is, being a proof of concept, I didn't write anything down. I mentioned before that I'm not a wine guy, so I decided to go with an ale yeast the first time. Because it was an ale yeast and not a vinter's yeast, it had more of a flat, sweet, beer flavor (compared to a wine taste). By the way, yeast is an ingredient people really don't give enough credit. It can completely change the flavor of what you're making, so keep this in mind when you get your yeast for whatever you brew. For this brew I used Nottingham ale yeast, but any ale yeast will go pretty well.

After my first batch, I started to wonder: what about a hopped, carbonated version? With my particular palate, I'm an American IPA fan. Low malt, heavy hops. The honey in mead is perfect for this, since you don't have to rely on malted barley for sugar content in your wort. (Wort is unfermented beer.) So I did a 2 gallon batch of hopped mead as an experiment, which was awesome. And because it was so awesome, I'm going to share my recipe with you.

This recipe is fairly approachable for any beer drinker. With a hop character close to a pilsner, (about 20 IBU) and some flavors akin to a mulled wine. It should be noted that you will get a bit of a musky after taste that many may not be used to. This is the lack of malt to balance the hops. My next batch will be tripling the bittering hops, and using amarillo hops instead. These have a higher acid content and bitter the Mead further. This should put it at about 70 IBU (International Bittering Unit)

Ingredients


-12-16 lbs of honey (more honey = sweeter/higher alcohol mead, depending on yeast used. Use a hygrometer* to measure sugar content and compare to what your yeast is capable of)
-4 gallons water
-5-7 0zs fresh ginger (peeled and roughly chopped)
-2 sprigs rosemary
-5 tbs cinnamon, or 6 whole sticks
-1 lemon
-8 oz raisins
-1 oz perle hops (pellet)**
-1 oz cascade hops (pellet)**
-1 packet Nottingham yeast

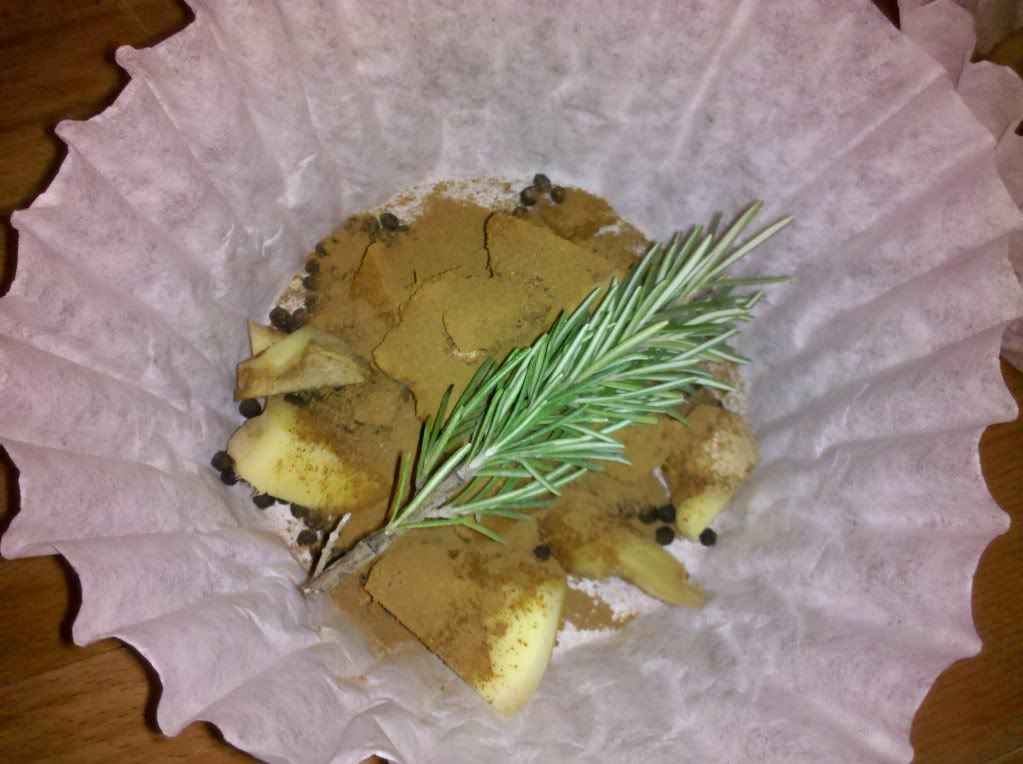
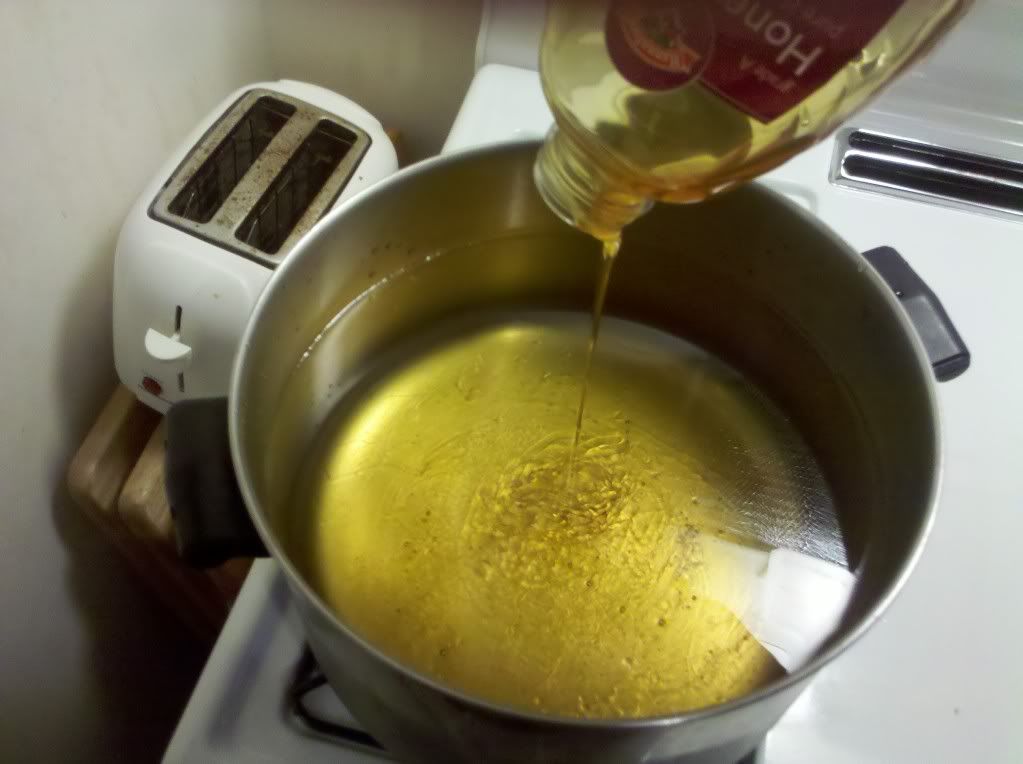
Bring water to a rolling boil and add honey, bring back up to boil. Add ginger, cinnamon, rosemary and perle hops. Boil for 60 minutes to obtain highest bittering from hops. In the last few minutes of boil, zest lemon and throw in the rest of it. Add raisins as well, this is mostly to sterilize. Allow to cool and pour into fermenter, lemon, cinnamon, raisins and all.  (glass fermenters are always best) While your brew is cooling, make a yeast starter.

Microwave some water to sterilize, just bring it up till it barely boils, and add a little corn sugar if you have it or some  honey will work. Pour your packet of yeast into it after it cools to about 75-80 degrees. This helps the yeast to procreate quickly before adding it to the wort. When the wort has cooled to below 90 degrees, add your starter, along with the cascade hops. Let it sit for a few weeks until you stop seeing bubbles for your airlock.***

When your mead is done fermenting, it's ready to drink, but if you really want Viking Champagne, you need to carbonate. Bottle conditioning is the most low tech way to do it, but if you have a keg and CO2 tank, that the easiest.

For bottle conditioning in a 5 gallon batch, mix in 8.5 oz corn sugar, and bottle. Grolsh beer bottles with silicone seals work really well. I also got some really good pop-top bottles at Ikea. Store at 70 degrees for about a week and they should be done. For carbonation in kegs, add about 30 psi and refrigerate.


*Hygrometer measures sugar content of wort, can be purchased on Amazon for like 5 bucks.
**Will be swapping out for 3 oz Amarillo bittering and 1 oz Fuggle in the next batch for a 60-90 IBU brew.
***Airlocks allow C02 to escape without allowing oxygen in, can also be purchased on Amazon very cheaply.


Monday, May 23, 2011

Concealed Carry

Concealed carry is a very touchy subject for many, and in a few states its flat out illegal. I'm really not looking to get into my opinions or spout statistics to anyone. Suffice to say, I carry a gun and I do so legally. Bad things happen to good people everyday, whether its violence or a natural disaster, you need to be prepared. If you decide you need to carry a gun, please follow the rules. A good reference I've found is carryconcealed.net. They have a ton of information and links for you to find all the info you need.

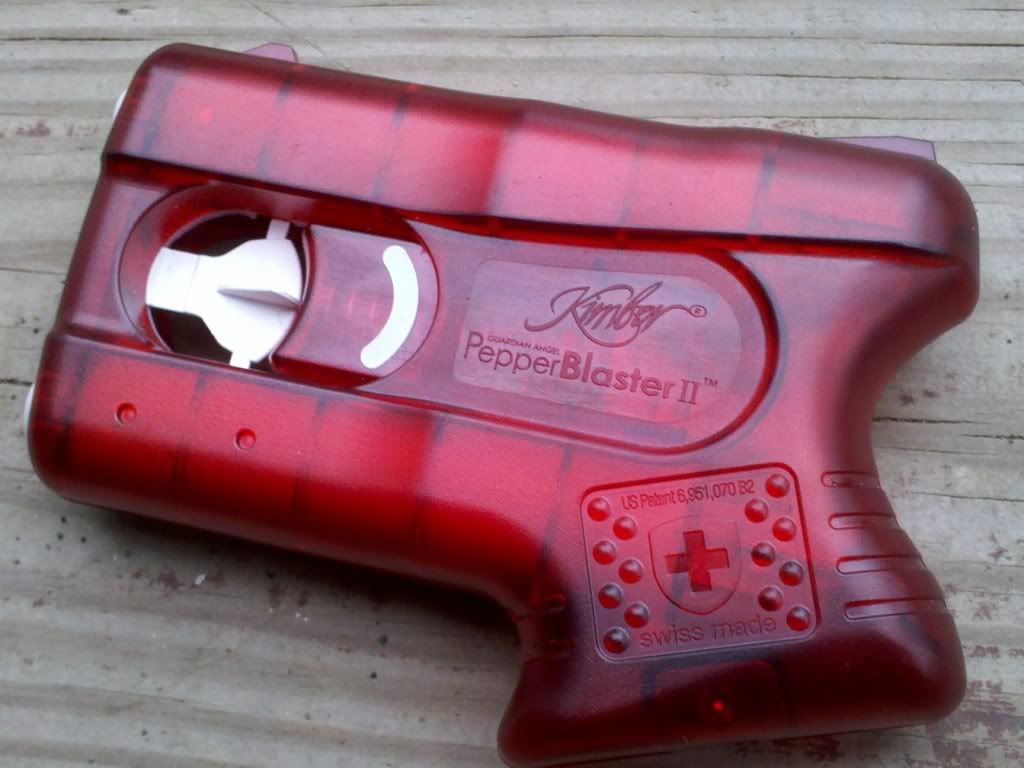
If you decide that carrying a gun is not right for you, or you live in area that it's not legal, (or so painstaking to get a license it's not worth it) there are other options. Some states allow concealed carry of tasers and less lethal options. My personal favorite is the Kimber pepper blaster. They retail around 40$ and can be purchased at most places that would sell firearms or pepper spray. Unlike typical pepper spray, these are effective out to about 12 feet. The active ingredient (capsaicin) is in a gel, instead of an aerosol, this limits blowback onto the user. Newer models have sights like a gun and are really easy to use. Check local laws regarding the carry of such items. The retailer you buy it from would be the best place for information in your area.

Before puchasing a handgun you need to decide what you're going to want to carry. I try to balance stopping power, price, and concealment. There are thousands of choices out there, it all depends on what your situation is. A good route to take is to have a couple options. Maybe have a larger pistol with a lot of power that you can carry when its convenient enough to conceal. For instance when you're wearing a heavy coat or sweatshirt. Then to also have something smaller and lighter for the summer months when you're wearing shorts and a t-shirt.


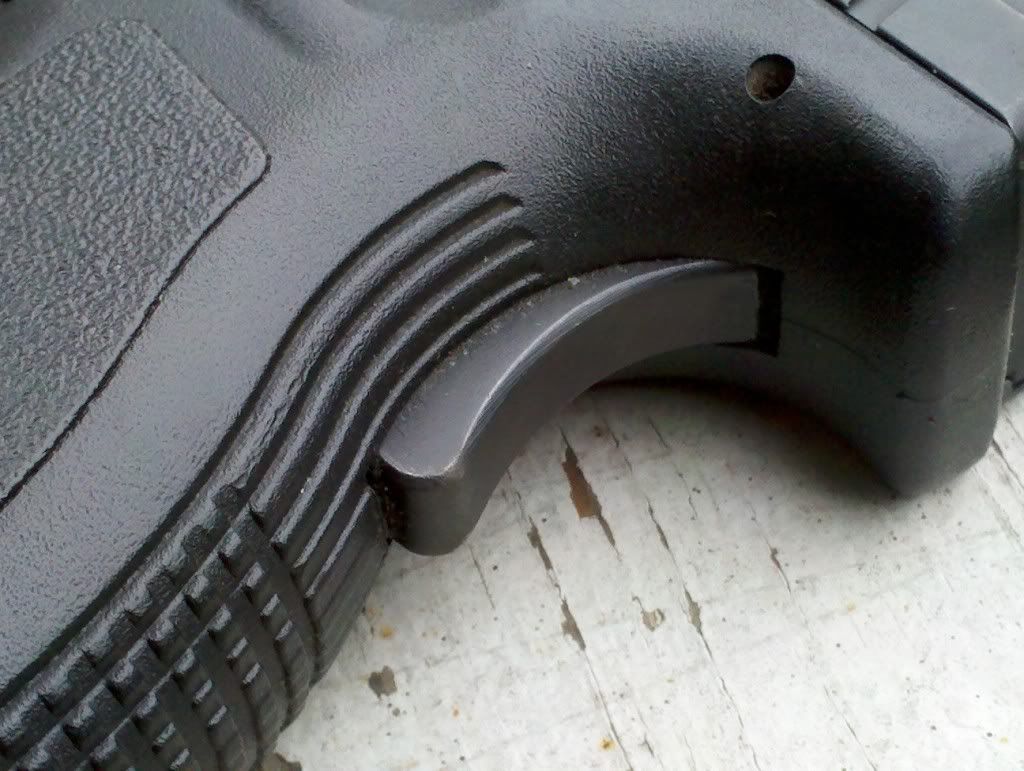
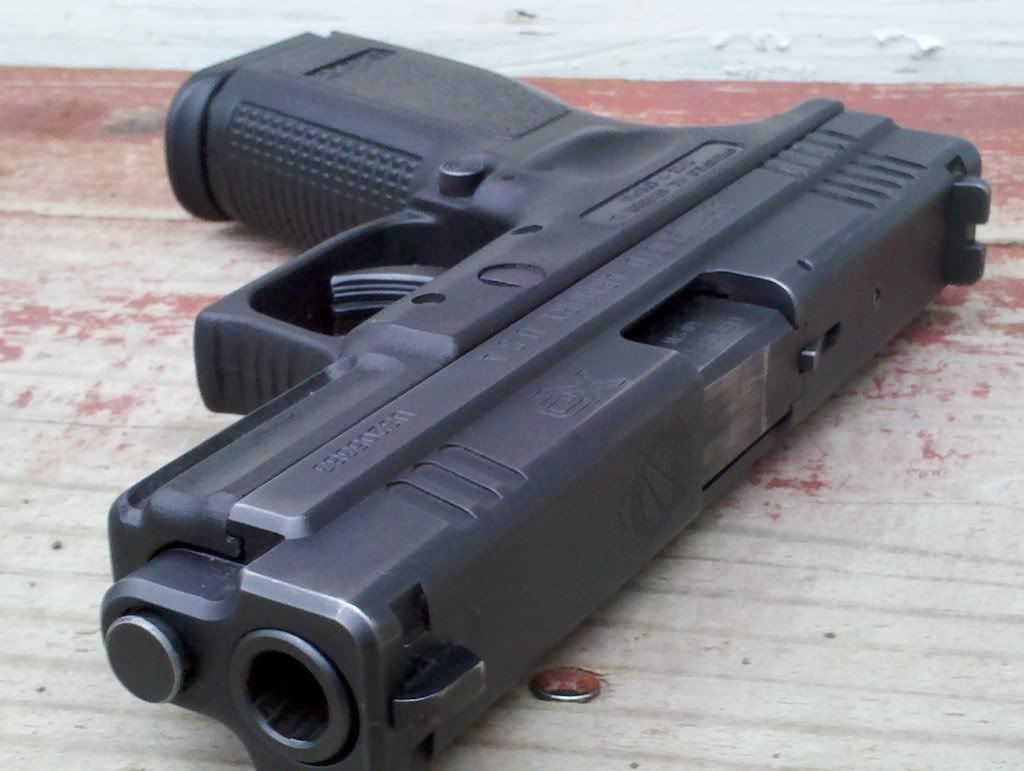
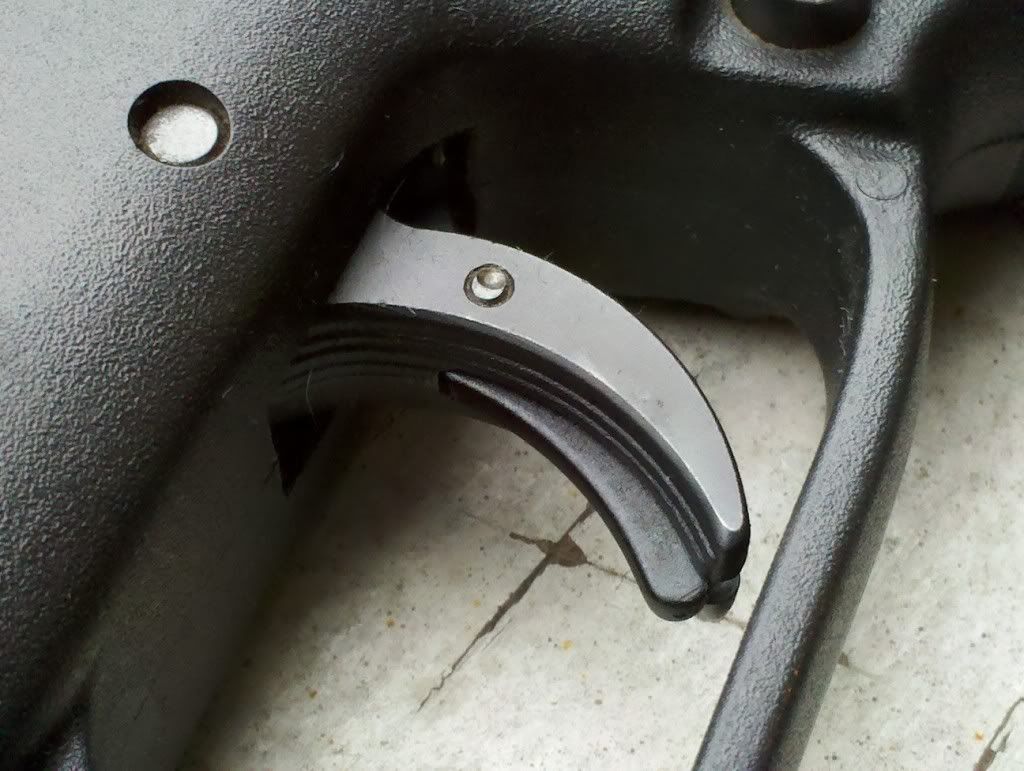
For my main carry pistol I went with a Springfield Armory XD in .40 caliber. This is a very rugged, polymer framed pistol. I chose it because of it's reliability, safety, and reputation. I've fired over 2000 rounds through it and only had a few malfunctions. (all ammo related) The main draw for me was the safety system, it's equipped with two safeties. The grip safety is on the rear of the gun. It makes it so the gun can't fire unless it is being gripped, if it was dropped for instance. The second safety is on the trigger. The trigger canot be pulled without a deliberate action. this protects from snagging the trigger and accidentally discharging it. Many other guns in the same class, Glock would be the most prominent, only have the trigger safety, or none at all. Some Glocks do have manual safeties. I garuantee the first time you go to fire it at the range and realize you left the safety on, you'll wish you had something more intuitive though. They're also equipped with loaded chamber and cocked indicators. If you live in a state that has no magazine restricions I recommened checking out the XDm as well, everything the XD has with higher magazine capacity.


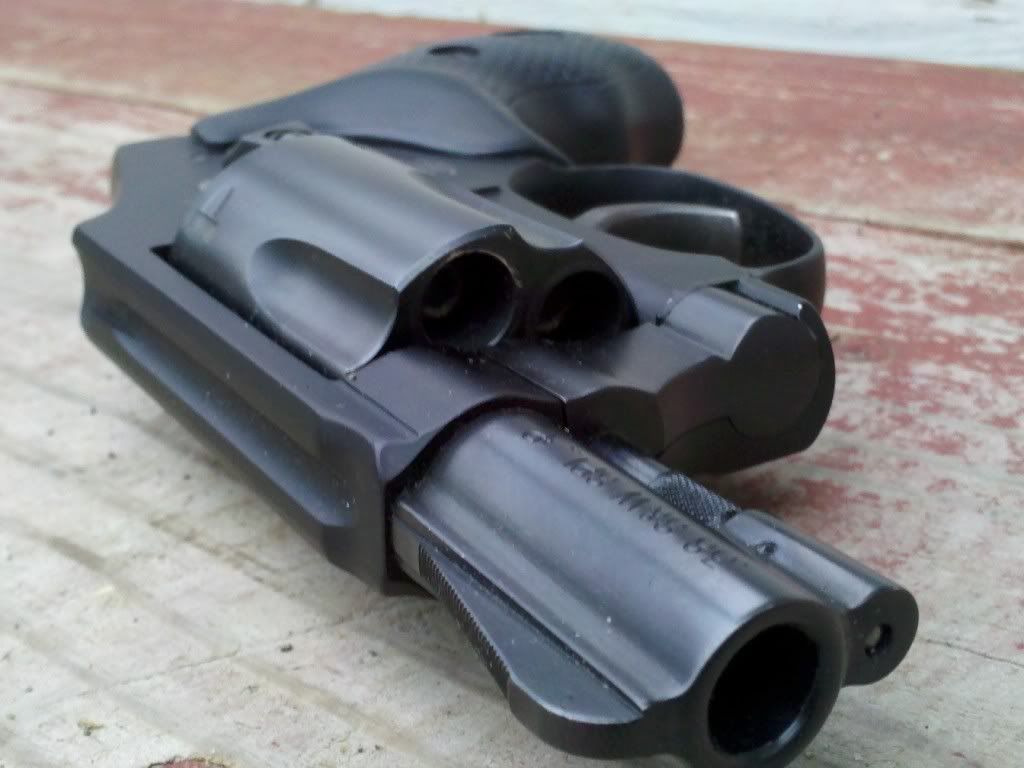
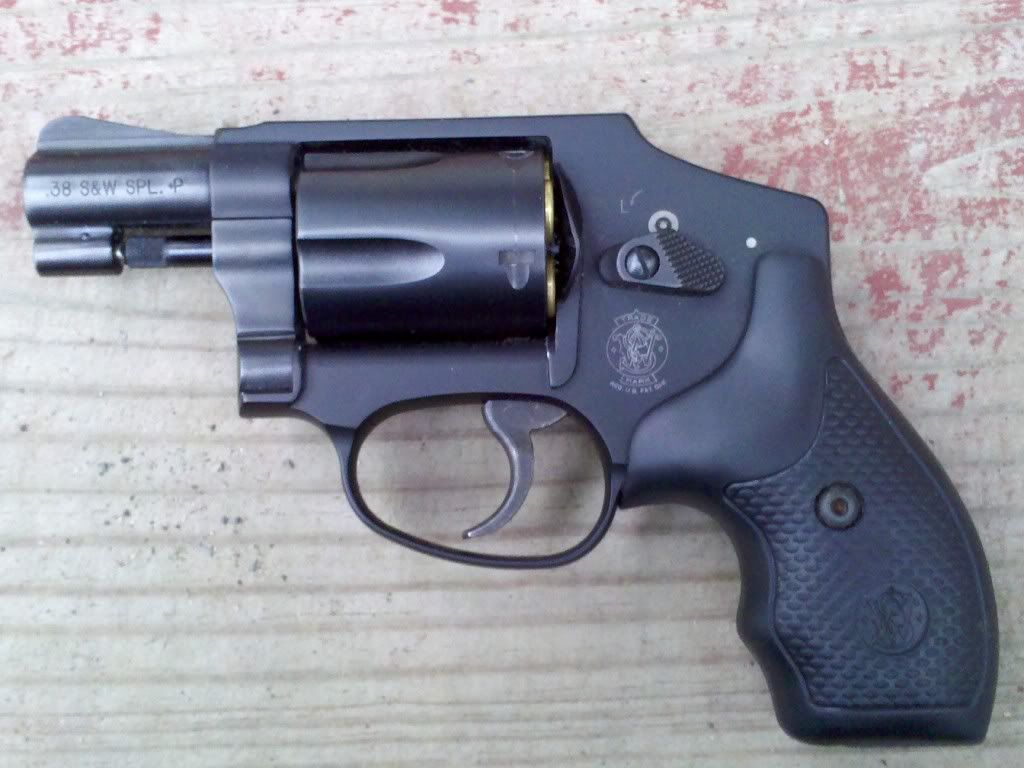
For my secondary, I carry a Smith and Wesson M442 airweight, in .38 special +P. Not quite as powerful as the .40 caliber, but being able to carry it in my pocket or on my ankle is really nice. The reason I was drawn to this model is the reduced weight, and hammerless design. You can definetly get a gun from Taurus or a half dozen other manufacturers that would be comparable in quality. They would most likely be much cheaper as well, but they'll never be as light. Before this one I had an older model 36, a nearly identical gun on the surface, but a whole lot heavier. My new one loaded is lighter than the old one unloaded. But if you're looking to save some cash and can deal with the additional weight I would check out Taurus. The hammerless design is offered by most revolver manufacturers. The lack of hammer makes it much less likely to snag on clothing while being drawn. You do lose a little accuracy by not being able to fire it single action. I think its a sacrifice worth making, especially if you're going to be carrying it in your pocket. It's also equipped with an integral locking sytem. When locked, the trigger cannot be pulled.

Possibly the most important part of carrying concealed is choosing a holster. Last thing you wanna do is shoot youself in the leg because you were too cheap to buy a holster. I have quite a few for all my guns. Not because I planned it that way, but because I was cheap. Do not buy universal holsters. They are not very good, ever. Spend the money and buy a Kydex or leather holster made for your gun. I'm not a big fan of Kydex (plastic) holsters, simply a matter of comfort for me. I think in open carry they are well suited, but not my cup of tea I guess. My brand of choice is Desantis. I have two leather ones for the XD, one in the waistband and one on the belt. Both are very comfortable, but the in waistband one does show a little when you bend over or sit down. The belt holster is great for open carry or concealed, provided my shirt is loose fitting enough. For the .38 I use an ankle holster, (also from Desantis) or carry it in my pocket.

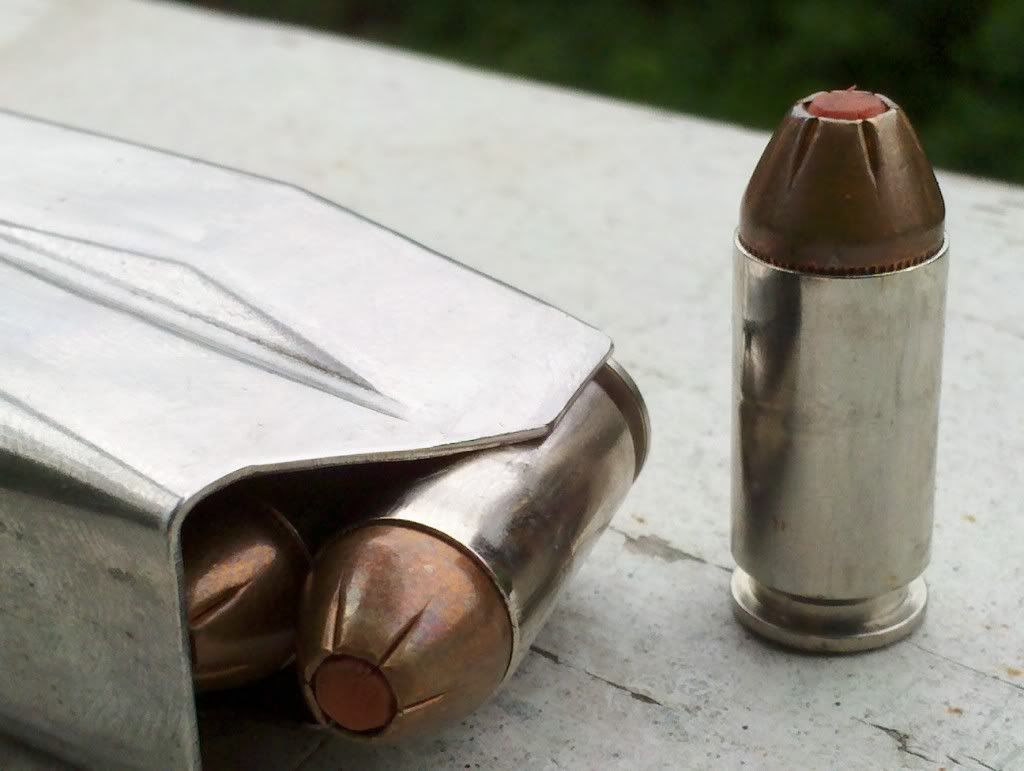
Ammunition is very important too. Everyone has their own preference on brand, caliber and the like. The whole point is that if you're pulling a gun, it should be in the defense of your life or someone elses. You do not draw your weapon unless deadly force is your only option. I am fortunate that in the couple years I've been carrying I have never had to draw my gun. I hope I never do. But if I did, the last thing I should be firing is target rounds. Most cheap target rounds are full metal jacket. These don't stop when they hit someone, they keep going long after they exit the bad guy. Last thing you want to do is hit an innocent bystander. Do yourself a favor and carry high quality personal defense rounds. Theres way to many out there for me to review them all but I'm pretty brand loyal to Hornady. Generally I carry their TAP Critical Defense. They're frangible hollowpoints with a polymer tip. Because of the hollowpoint design they stop within a few inches of impact, limiting the chance of it going through. This also expends all of the bullets energy, causing more damage.

Nothing I can tell you here can make you more safe than proper training and practice. If you don't feel comfortable, take a class. Read up on proper technique, and get out to the range as often as you can. You could have the nicest and most powerful gun on the market, but if you havent developed any skill with it, you're screwed. Muscle memory is very crucial when it comes to drawing and firing your weapon in a stressful situation. Practice until every move becomes second nature and you will give yourself the best chance in the worst possible situation.